10 de julho de 2020
Brincar e experimentar são sempre boas oportunidades também para aprender! Selecionamos alguns exemplos de como aprender se divertindo e fazendo bagunça.
1. Faça areia movediça
Também conhecido como líquido não-newtoniano, esse é um experimento muito simples, que pode funcionar em escalas muito diferentes – você pode fazê-lo dentro de um pote de cereal, ou dentro de uma bacia. A graça é a seguinte: quando você coloca os dedos (ou qualquer objeto) devagar no líquido, você afunda até a base do pote. Mas, se bater os dedos bem rápido na superfície, ela fica dura, como se fosse um chão.
Um experimento muito simples que instiga muitas perguntas nas crianças, além de proporcionar uma experiência sensorial diferente.
Ingredientes:
Maizena
Água
Corante (opcional)
Modo de fazer:
Já que o experimento pode ser feito em diferentes escalas – de um balde até um copo -, recomenda-se manter a propoção de 2 copos de água para 1 de Maizena.
Se quiser, adicione algumas gotas de corante para deixar o líquido colorido, proporcionando ainda mais diversão.
Esse vídeo ajuda a visualizar a experiência:
2. Faça flores coloridas
Existem duas maneiras de fazer esse experimento.
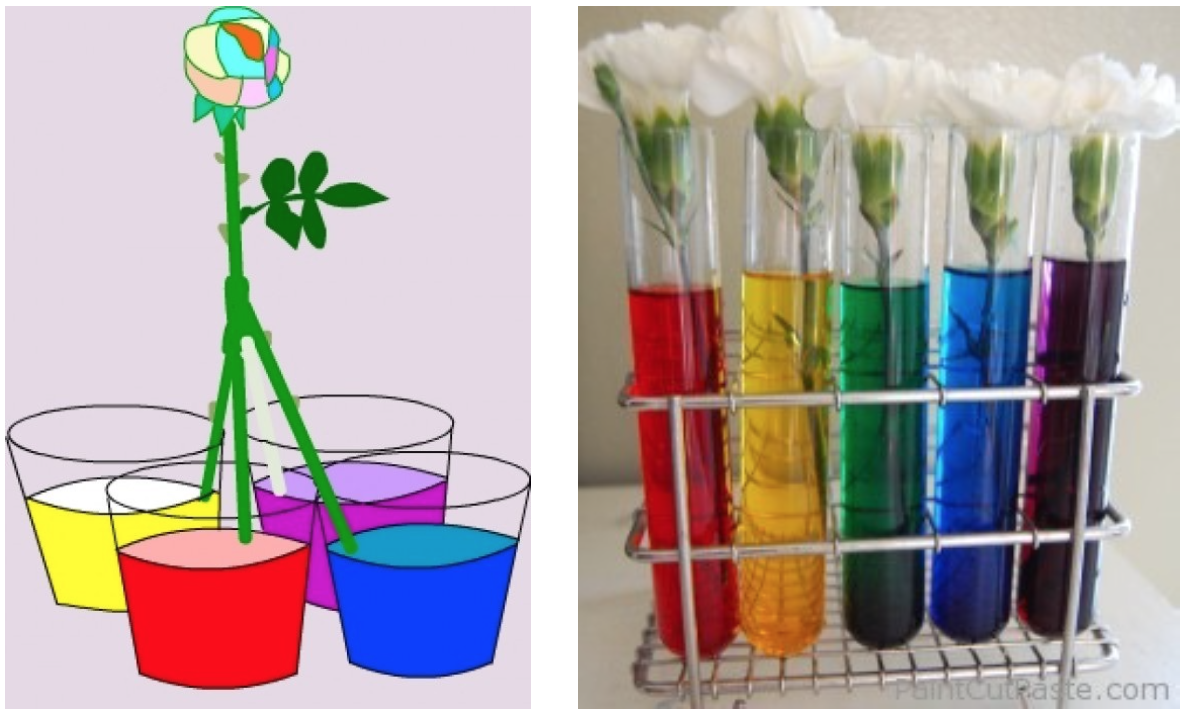
A primeira é colocar flores – brancas ou de cores claras – individualmente em vasos com anilina misturada com água. A flor puxa a água do vaso para sobreviver, e quando a água está colorida, a flor absorve a cor para suas pétalas. O resultado dessa modalidade do experimento é colorir uma flor branca de azul, roxo, rosa, laranja, ou qualquer outra cor.
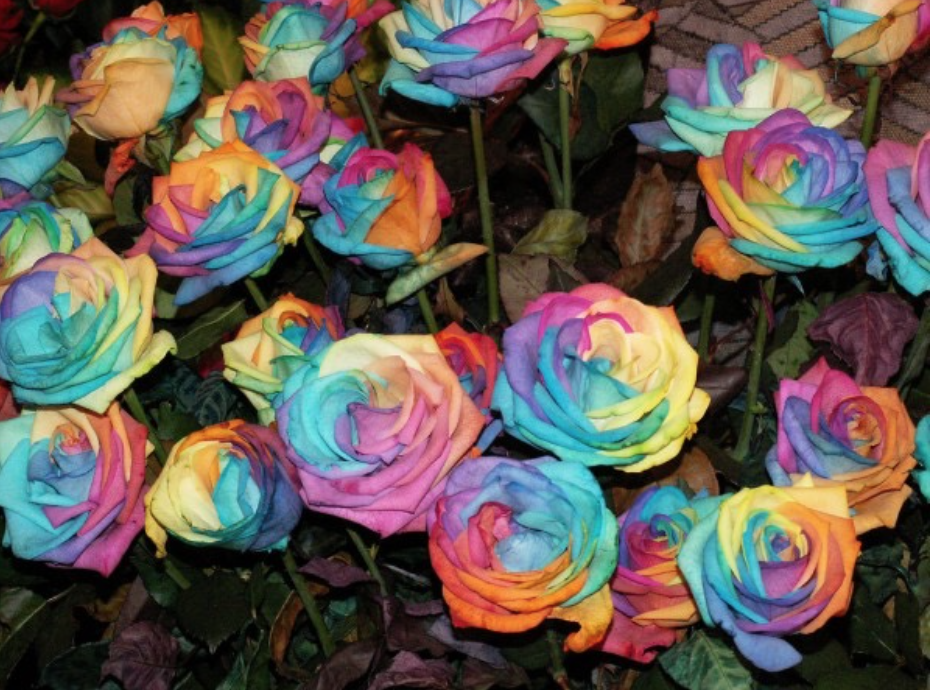
A segunda maneira é colocar uma flor, com o caule dividido, em vários vasos com água tingidas de cores diferentes. Como requer uso de um estilete, essa segunda técnica demanda a presença de um adulto. O resultado final é uma flor arco íris.

Ingredientes:
Flores brancas
Água
Vasos (podem ser copos de vidro ou descartáveis, vidros vazios de geleia, etc)
Anilina ou corante alimentício – quanto maior for a quantidade de cor usada na água, mais forte ficará a cor nas pétalas da flor
Estilete
Modo de fazer:
Opção 1:
Encher o vaso de água, misturar com o corante, e colocar a flor branca dentro, como mostrado na figura ao lado. Espere 24 horas e pronto!
Opção 2:
Encha alguns vasos de água com diferentes cores – quanto mais diferentes, mais forte será o efeito arco-íris, mas você pode escolher diferentes paletas de cores.
Divida o caule em partes. Em cada vaso deve ter uma parte do caule, então não recomendamos muitos vasos porque, quanto mais tiverem, mais difícil será a divisão do caule. Faça, de baixo para cima da haste, com uma faca ou estilete, um corte longitudinal de até 15 centímetros de comprimento.
Durante as 24 horas – o tempo necessário para a flor absorver as cores – é importante deixar a flor equilibrada entre os vasos. Se isso estiver difícil, use palitos de churrasco para ajudá-la a ficar em pé.
É um pouco trabalhoso, mas o resultado é bastante recompensador.

fotos: hyperscience.com
3. Plante um feijão
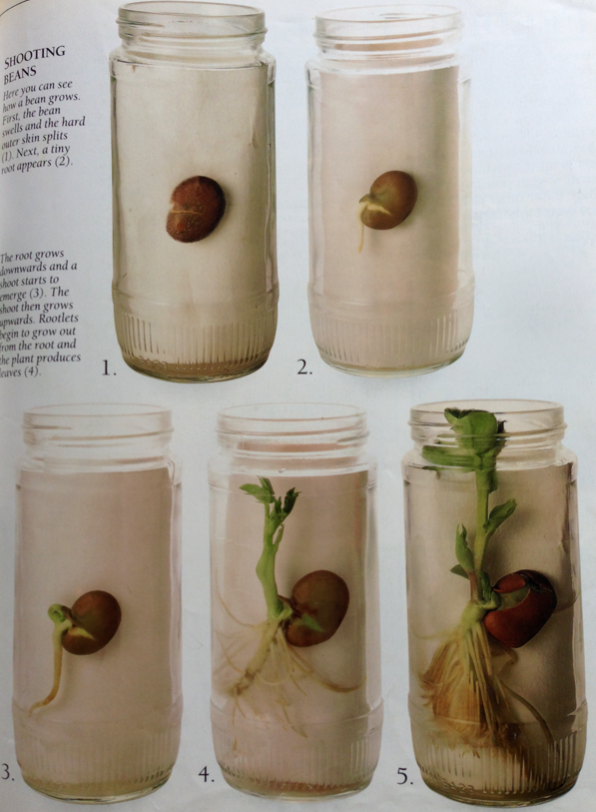
Esse experimento já é um clássico. Muitas vezes, inclusive, é uma atividade proposta pela própria escola – colocar um feijão sobre um algodão úmido dentro de um copo plástico e vê-lo crescer. Propomos aqui que essa experiência seja feita com um pote de geleia – ou qualquer outro pote de vidro reutilizado – de forma que seja possível ver a germinação por completo. Esse experimento toma um tempo maior e mais paciência, mas é um jeito muito bonito e oportuno de observar o crescimento de uma planta. Observar a germinação da vida é um aprendizado importante, e essa atividade pode gerar interesse e curiosidade sobre plantas e formas de vida diferentes dos seres humanos!

foto: My first nature book
Ingredientes:
Pote de vidro
Um feijão
Algodão
Modo de fazer:
Umedeça o algodão com a água.
Encha o vidro de algodão úmido.
Encaixe o feijão no algodão na lateral do vidro, como na foto ao lado.
Não deixe o algodão ficar seco – uma vez por dia (ou quando necessário) coloque água aos pouquinhos, para manter o algodão úmido o tempo todo.
Em cerca de 3 dias, a raiz vai começar a aparecer no feijão.
Quando o feijão crescer mais de 20 centímetros, tire ele do vidro e plante ele em um pote de terra.
4. Faça um museu da natureza
Catalogar elementos da natureza é uma tarefa bastante científica. Afinal, ciência é conhecimento, e organizar os elementos que você conhece é um jeito bastante eficiente de organizar seu próprio conhecimento em relação a eles.
Os primeiros museus, os chamados “Gabinetes de curiosidade”, funcionavam mais ou menos assim: algumas pessoas com espírito científico colecionavam pedras, conchas, fósseis e plantas, organizavam esses elementos em suas casas e agendavam visitas para que outras pessoas pudessem conhecer essas maravilhas da natureza. Experimente fazer com a criança um museu de história natural e ofereça visitas guiadas aos membros da sua família!

foto: Mom’s crafty space
Ingredientes:
Cartolina
Tesoura + cola ou fita adesiva
Algodão
Elementos da natureza (pedras, conchas, sementes, galhos…)
Modo de fazer:
Pegue uma caixa de sapato ou monte uma caixa de papelão ou cartolina e faça divisórias quadradas de cartolina, dividindo igualmente o espaço da caixa. Dentro de cada quadradinho coloque algodão e uma etiqueta. Depois, organize o que for encontrando dentro de cada quadrado e identifique cada elemento na etiqueta.
5. Faça um vulcão em erupção
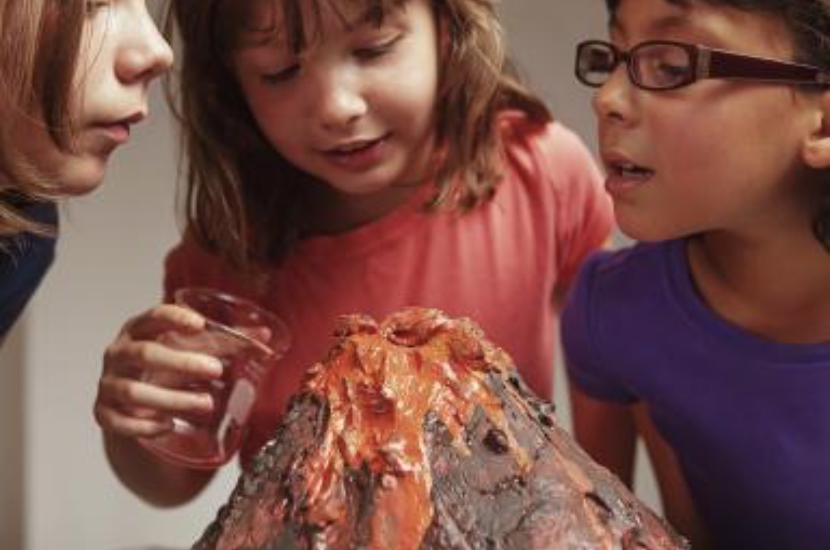
Vulcões são um fenômeno geológico fascinante. A erupção, cheia de lava e fumaça, atiça a imaginação e a curiosidade de muitas crianças e de adultos também. É possível realizar um experimento que simula um vulcão explodindo com vinagre e bicarbonato de sódio – bagunça garantida, e uma ótima oportunidade para conversar sobre química e sobre como a interação de alguns elementos pode transformá-los por completo, resultando em explosões!

foto: Marilyn Nieves, Getty Images
Ingredientes:
Massinha de modelar ou papel machê
Garrafa PET
Água morna
2 colheres de sopa de bicarbonato de sódio
6 gotas de detergente
Corante vermelho (opcional)
Modo de fazer:
Corte o bico da garrafa PET. Usando-a como base, encha até a metade de água morna, e misture o detergente, o bicarbonato e o corante. Em volta da garrafa, faça um modelo cônico do vulcão. Recomendamos fazer isso com massinha ou papel machê. Quando tudo estiver pronto, basta despejar um pouco de vinagre dentro da boca do vulcão para que a “lava” comece a jorrar!
Dica: para minimizar a bagunça, coloque o vulcão dentro de um recipiente como uma caixa de papelão ou um Tupperware.
Experimento extra: Veja aqui também como fazer um terrário, um jardim com um rico ecossistema que existe todo dentro de um vidro!